


- Made in Australia
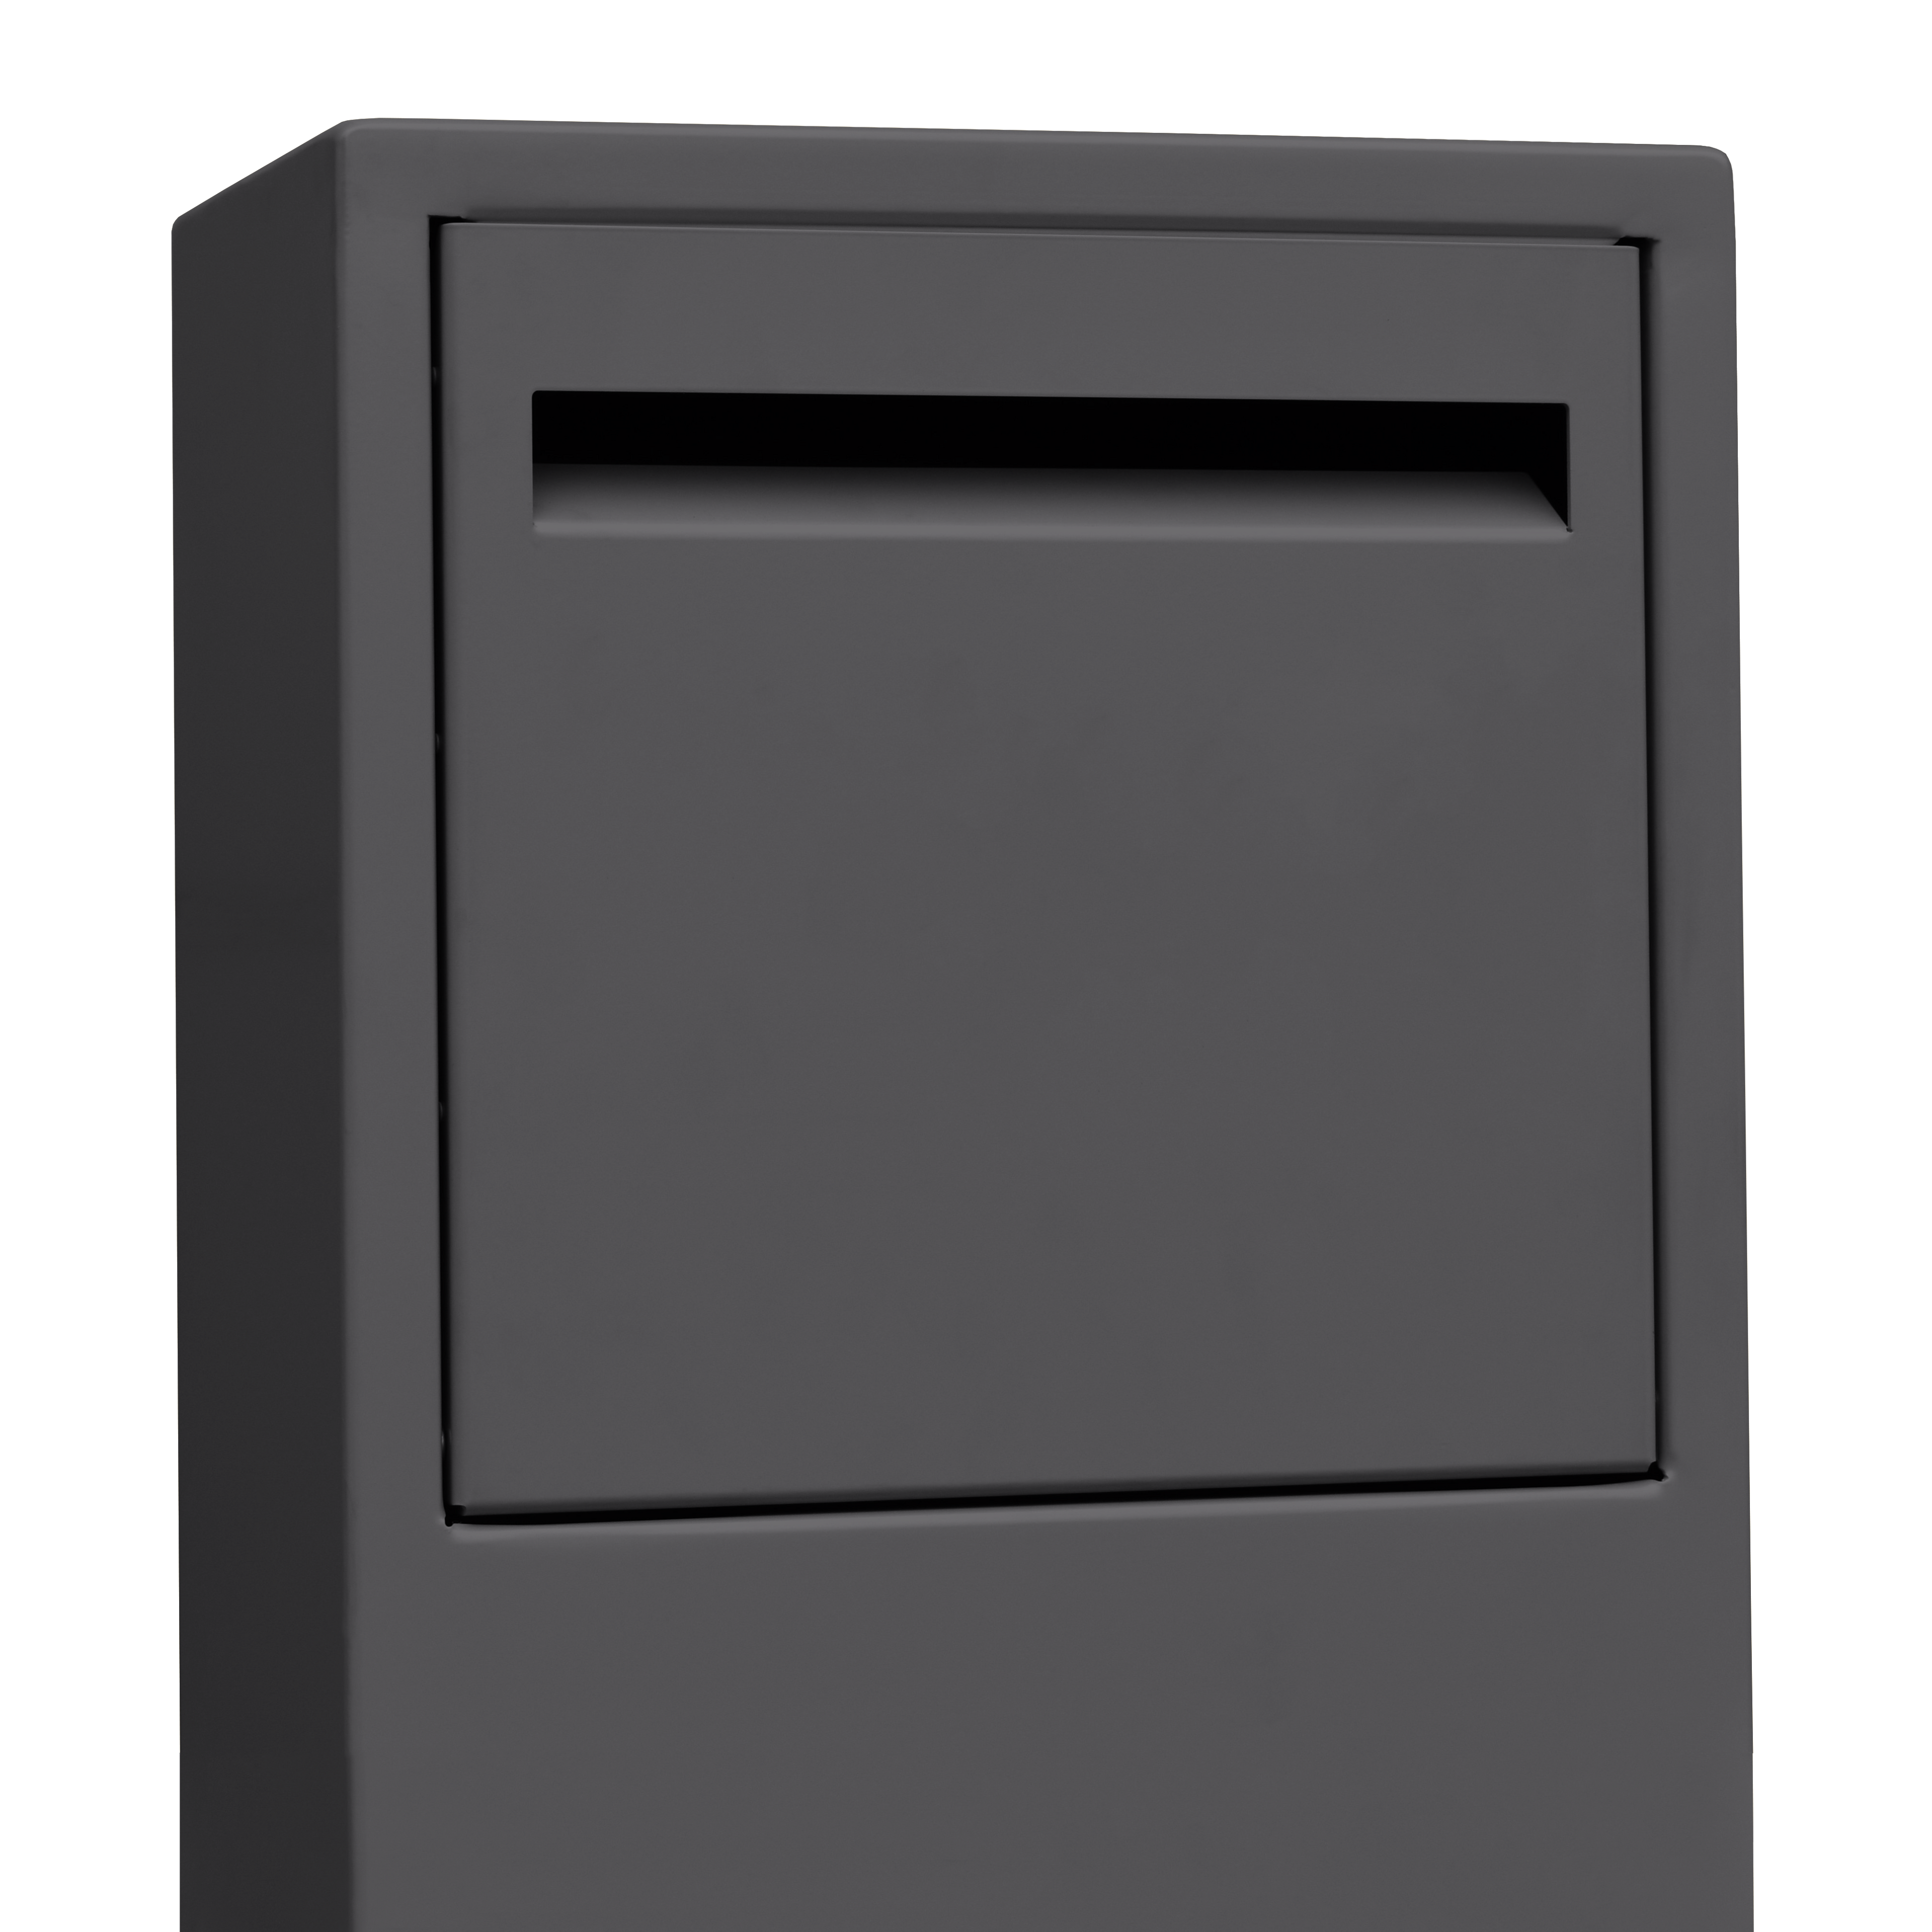
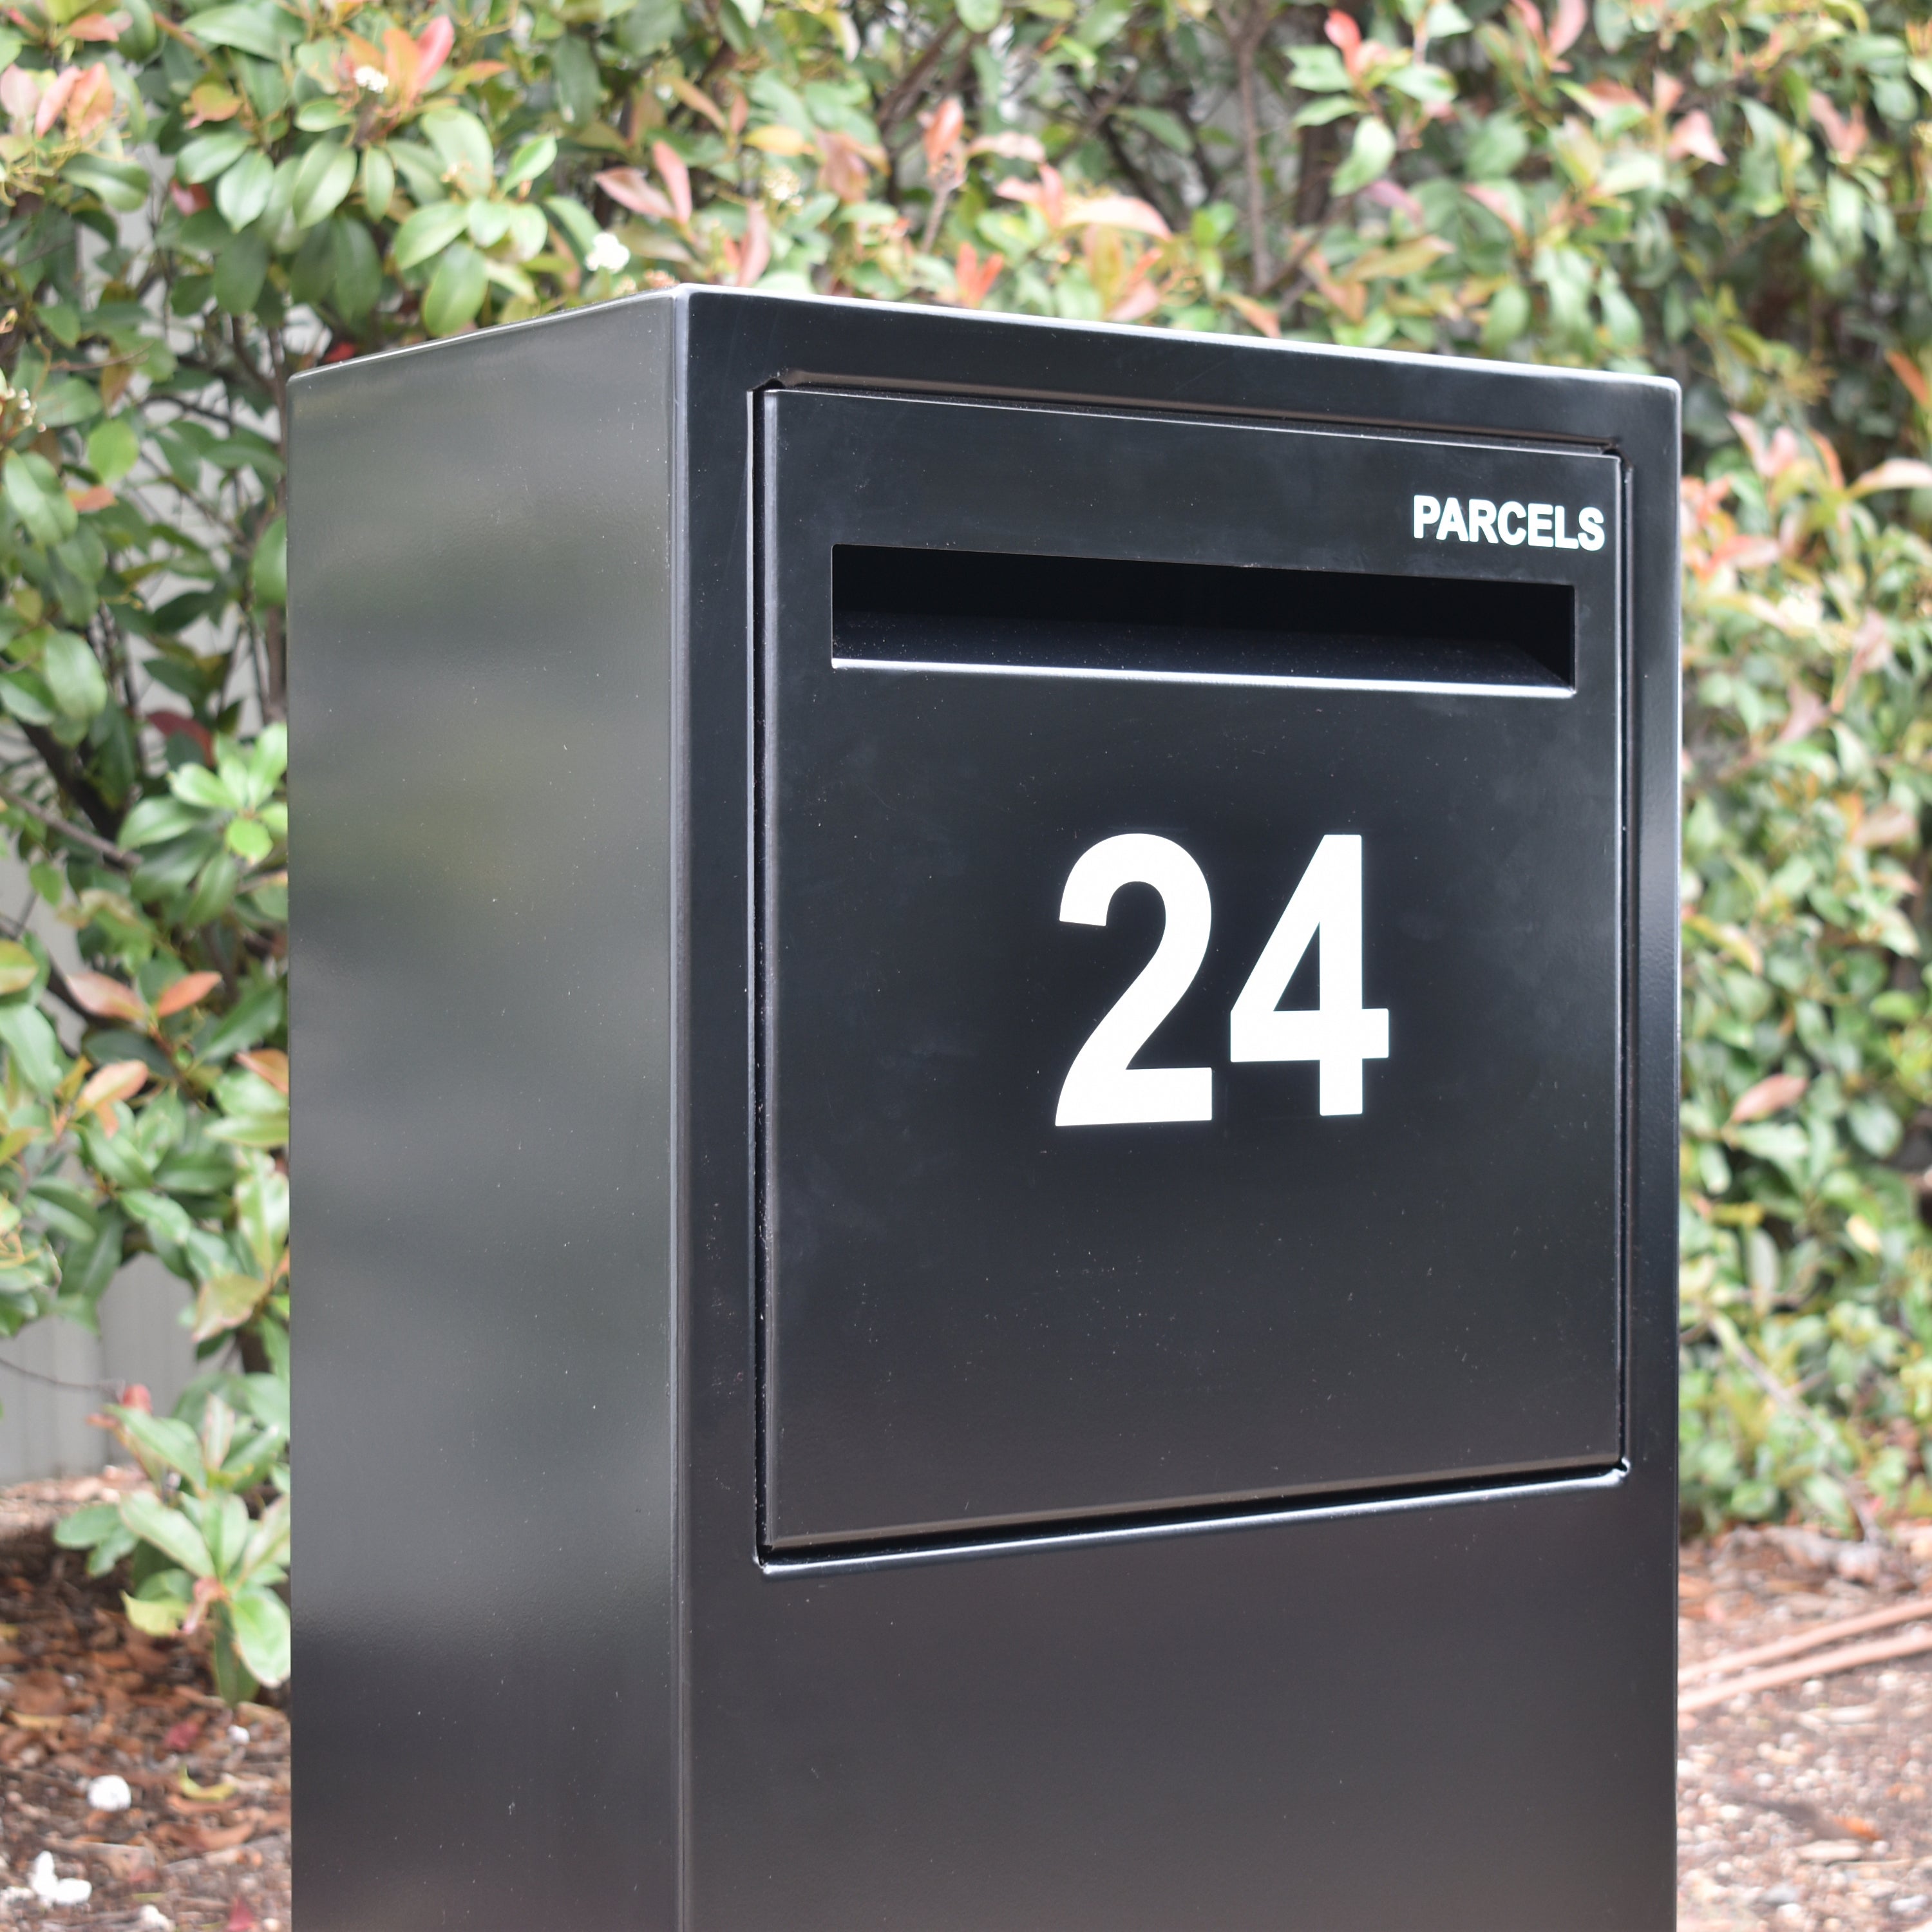
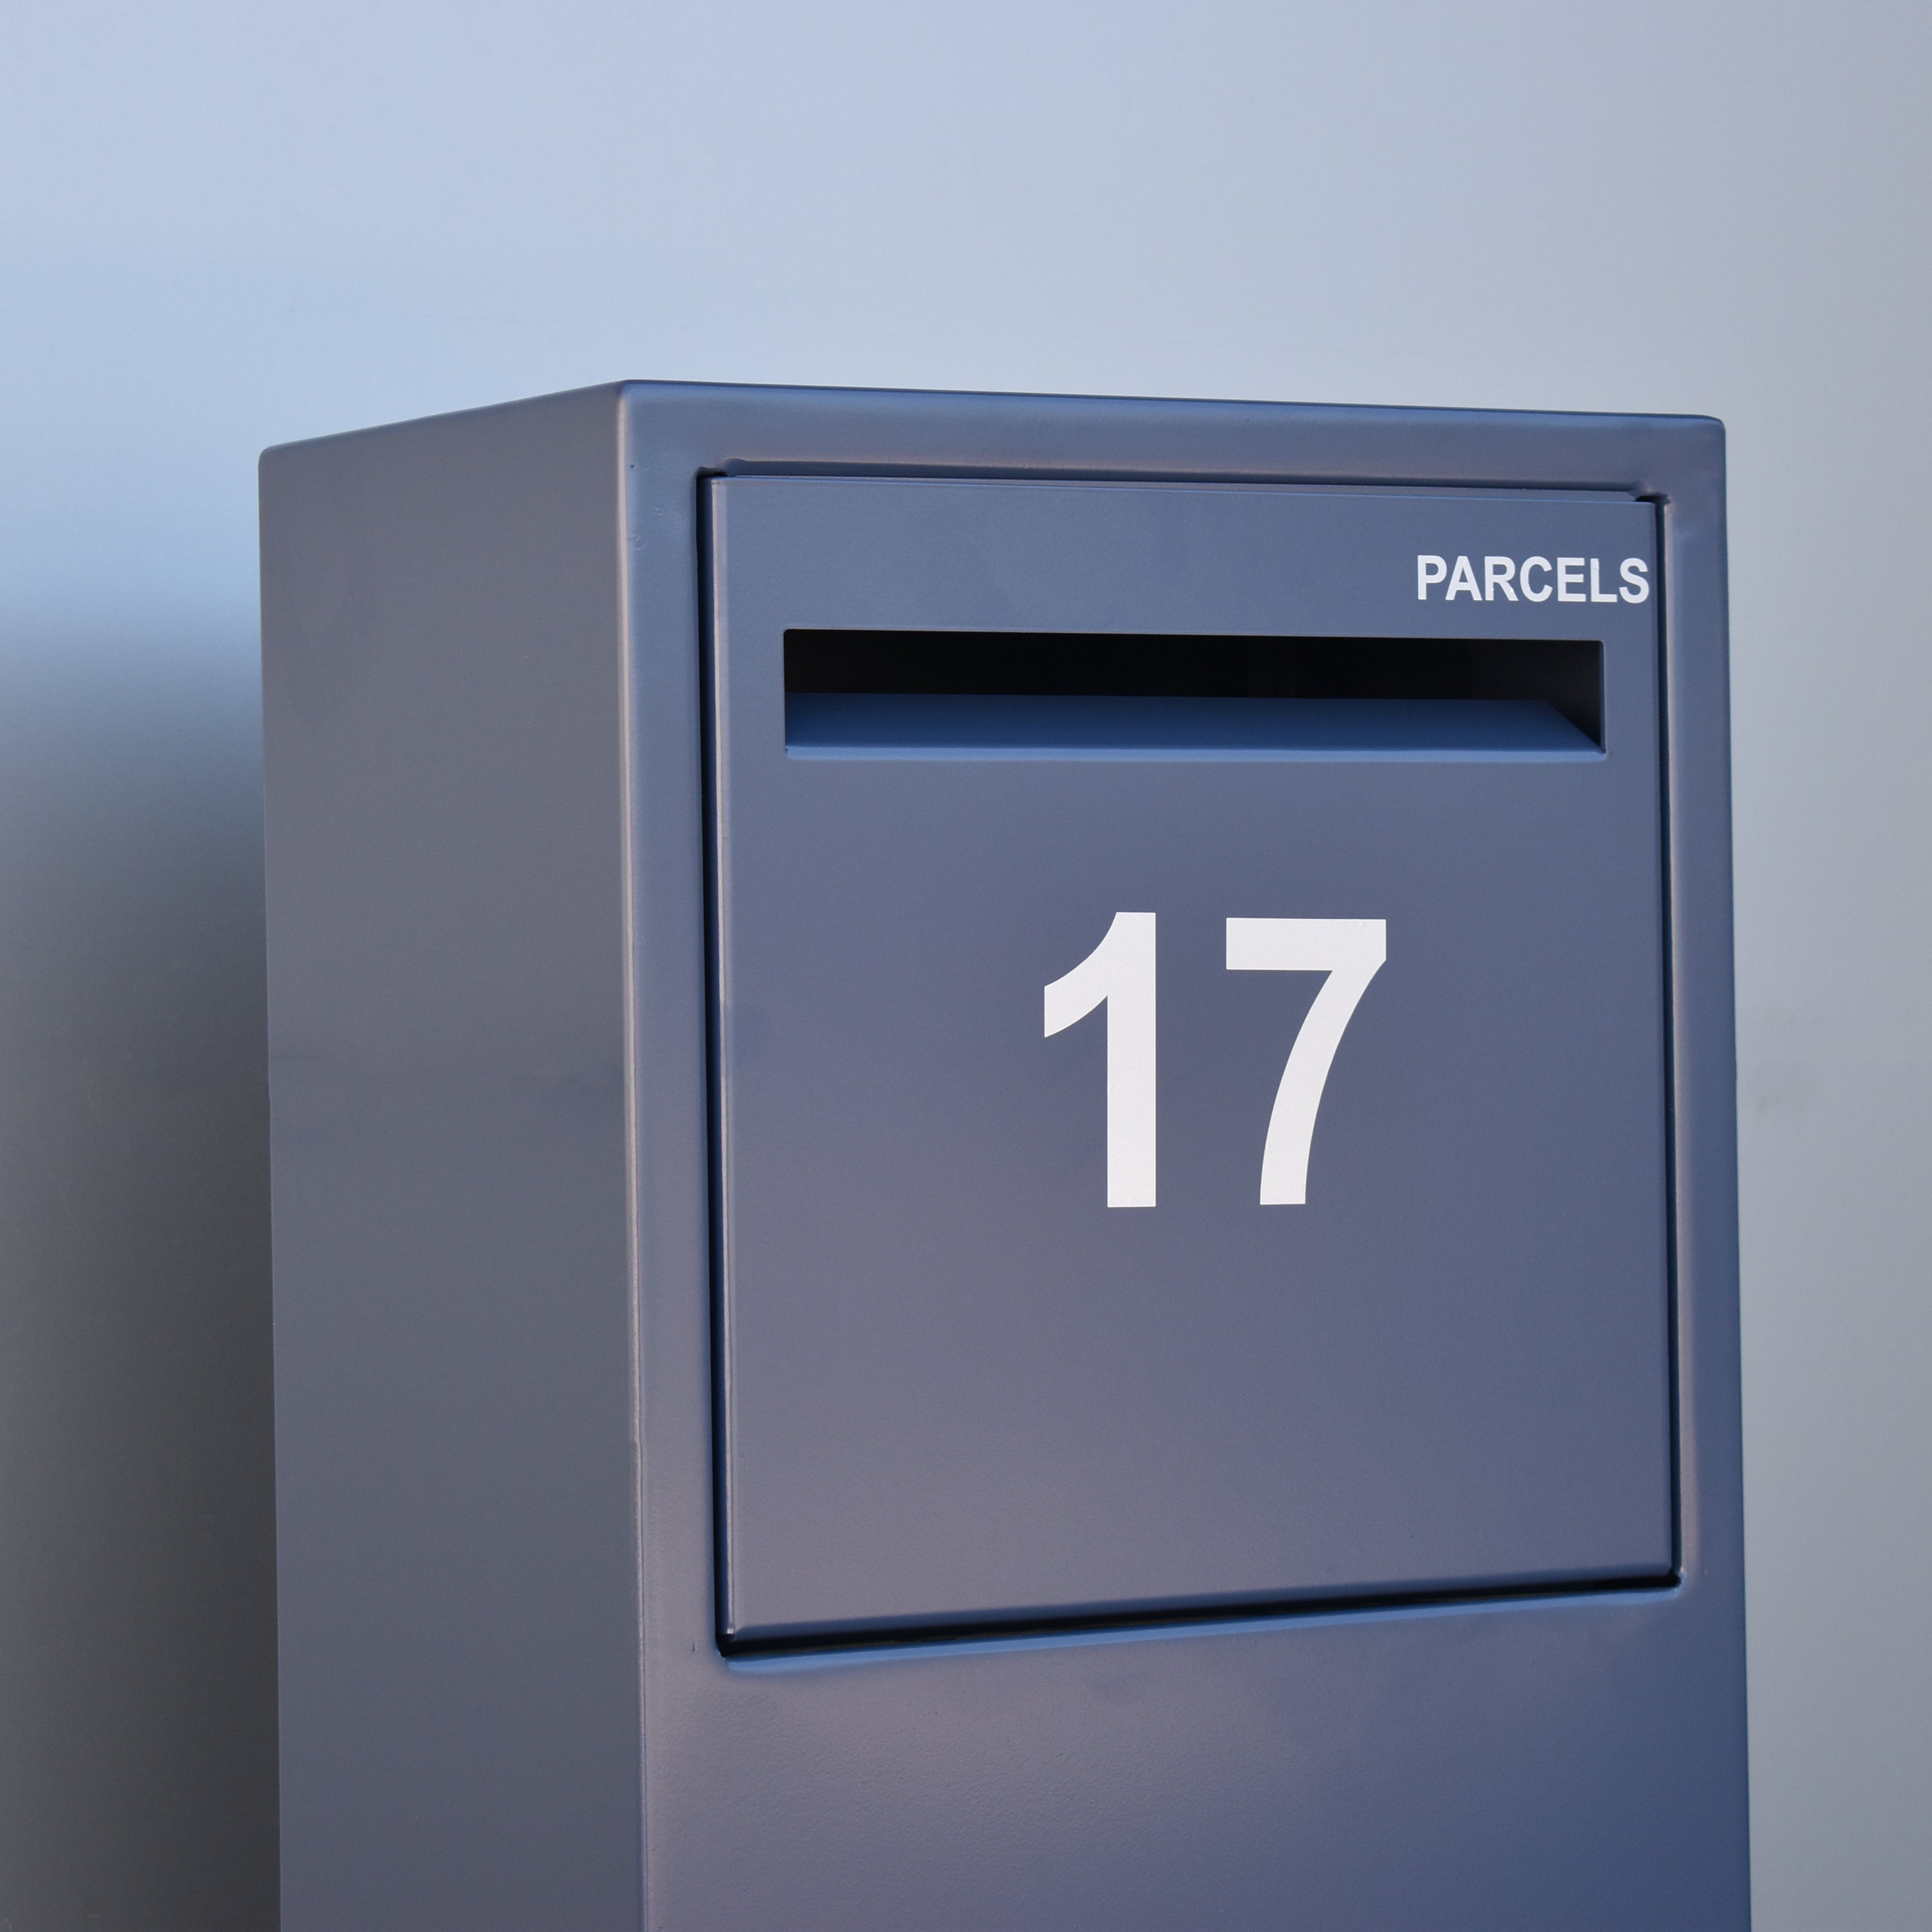
- A4 landscape slot for letters
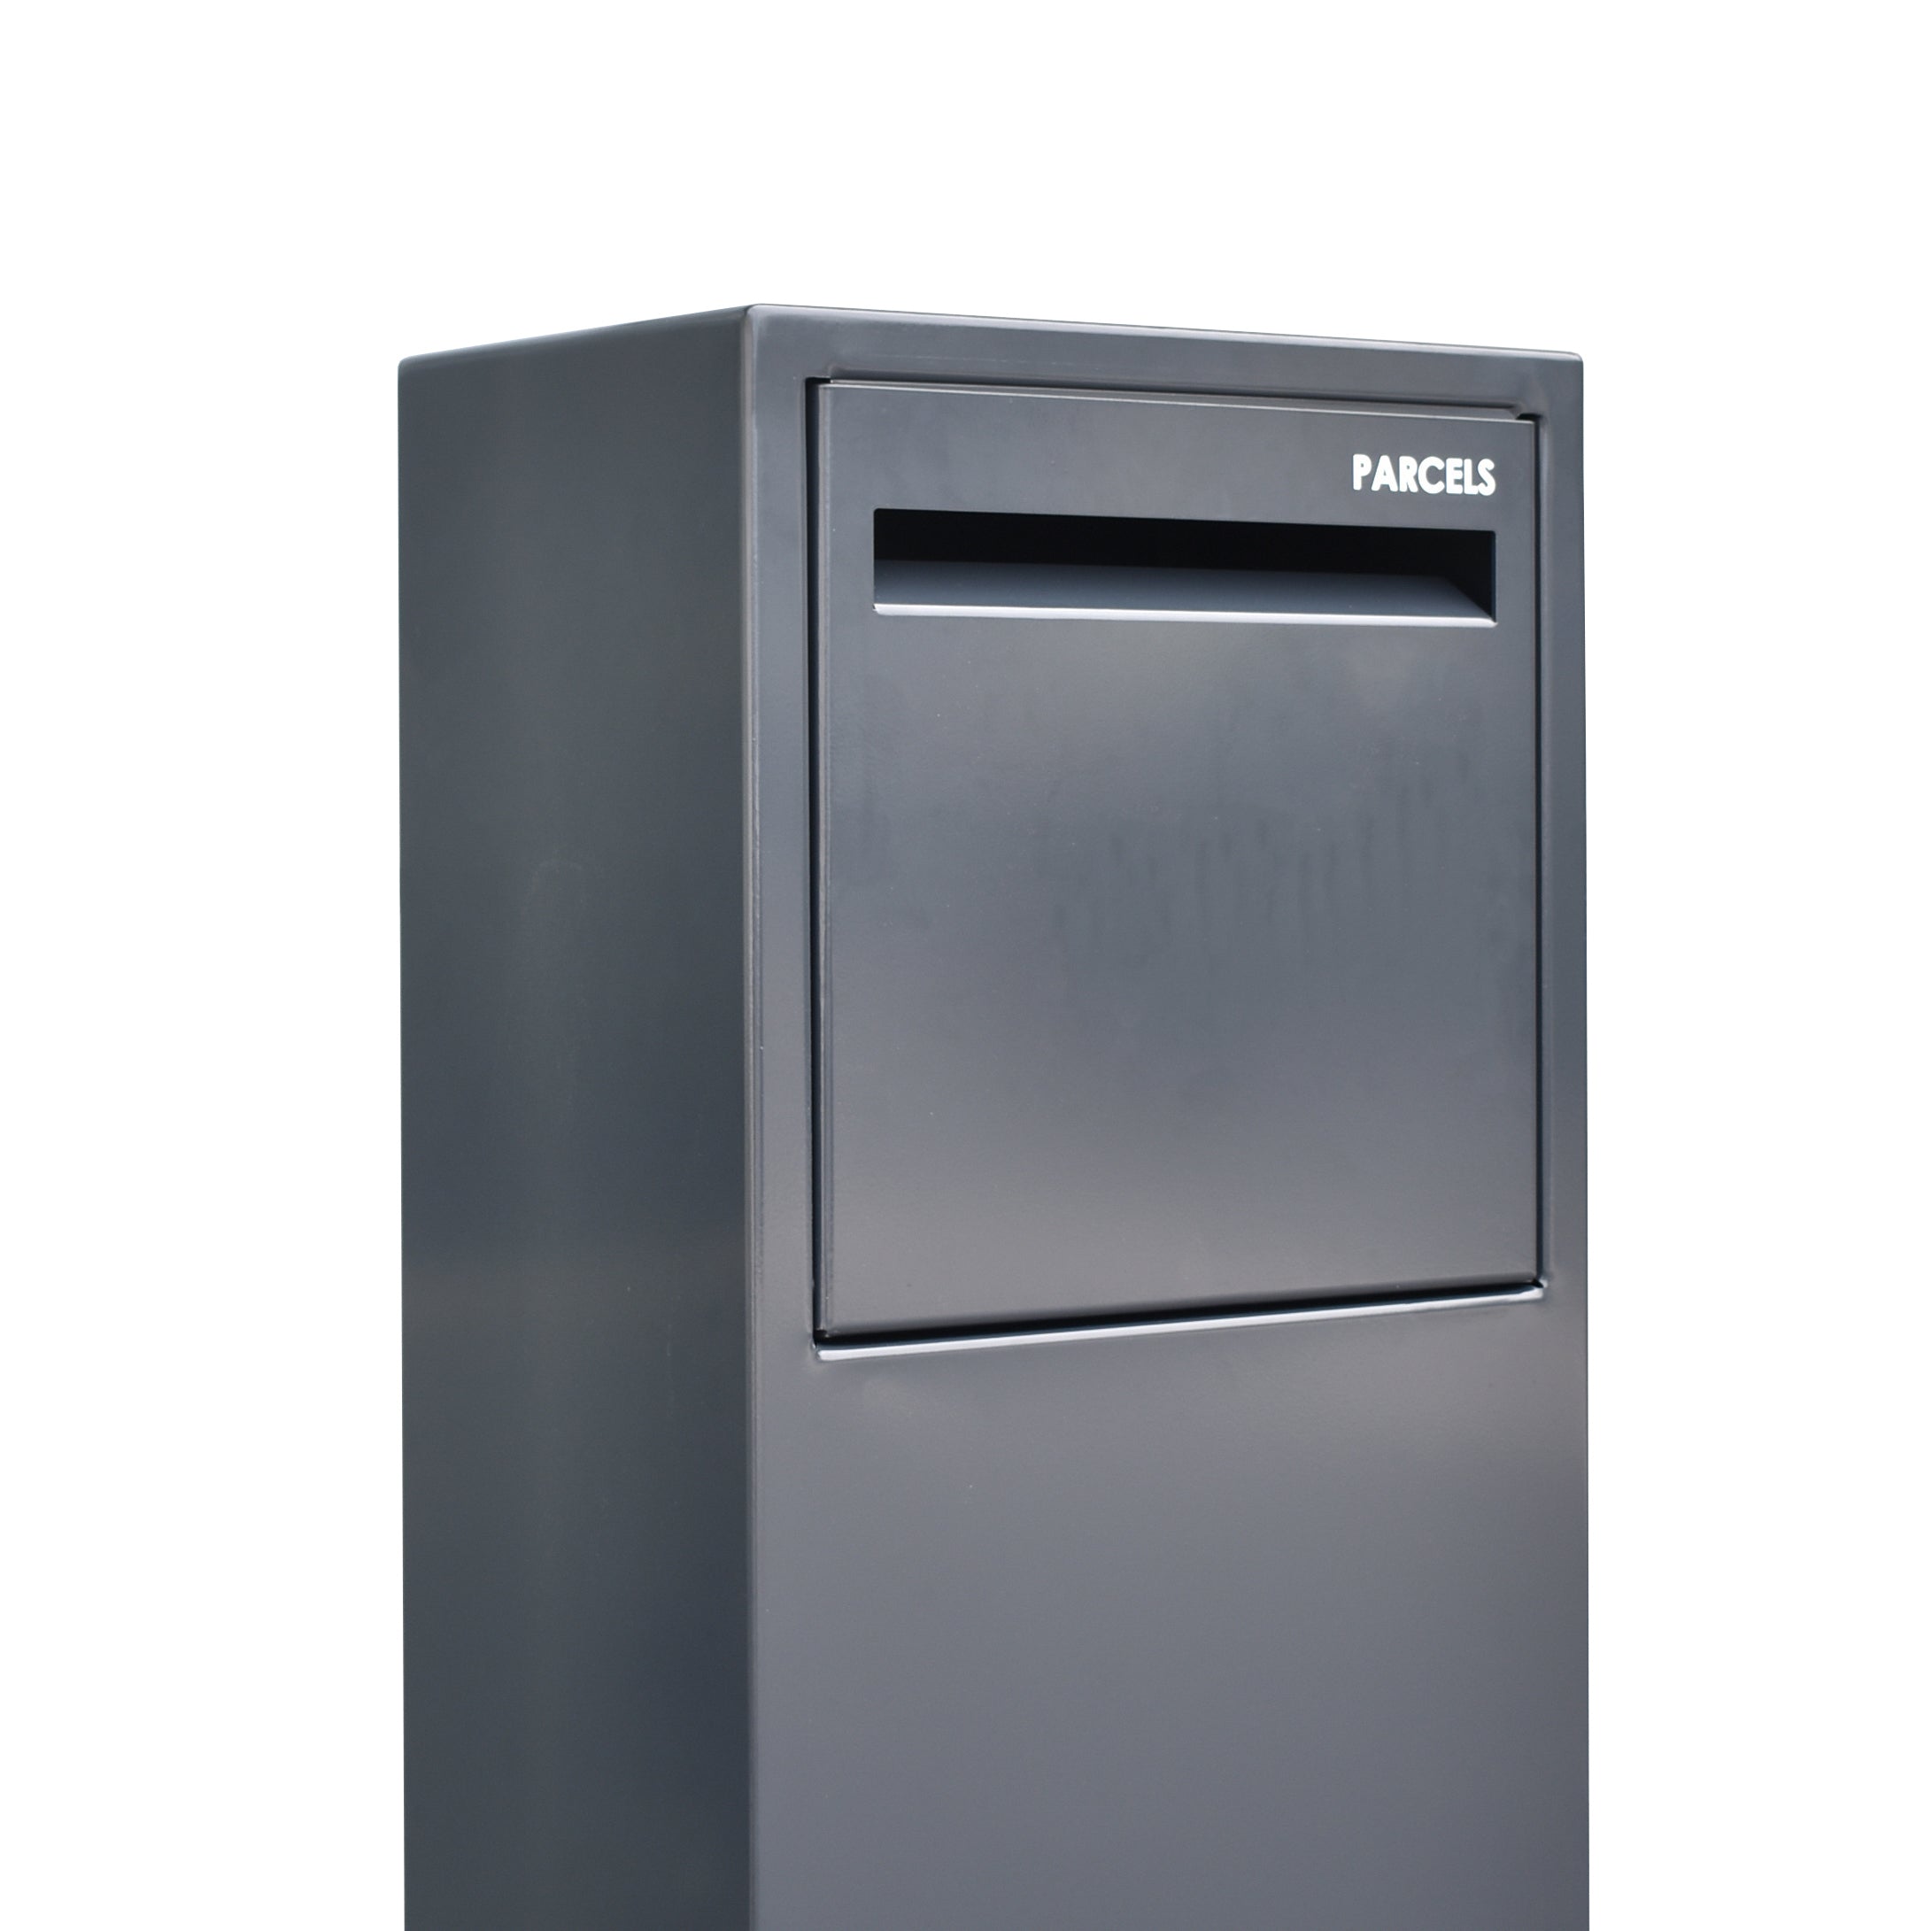
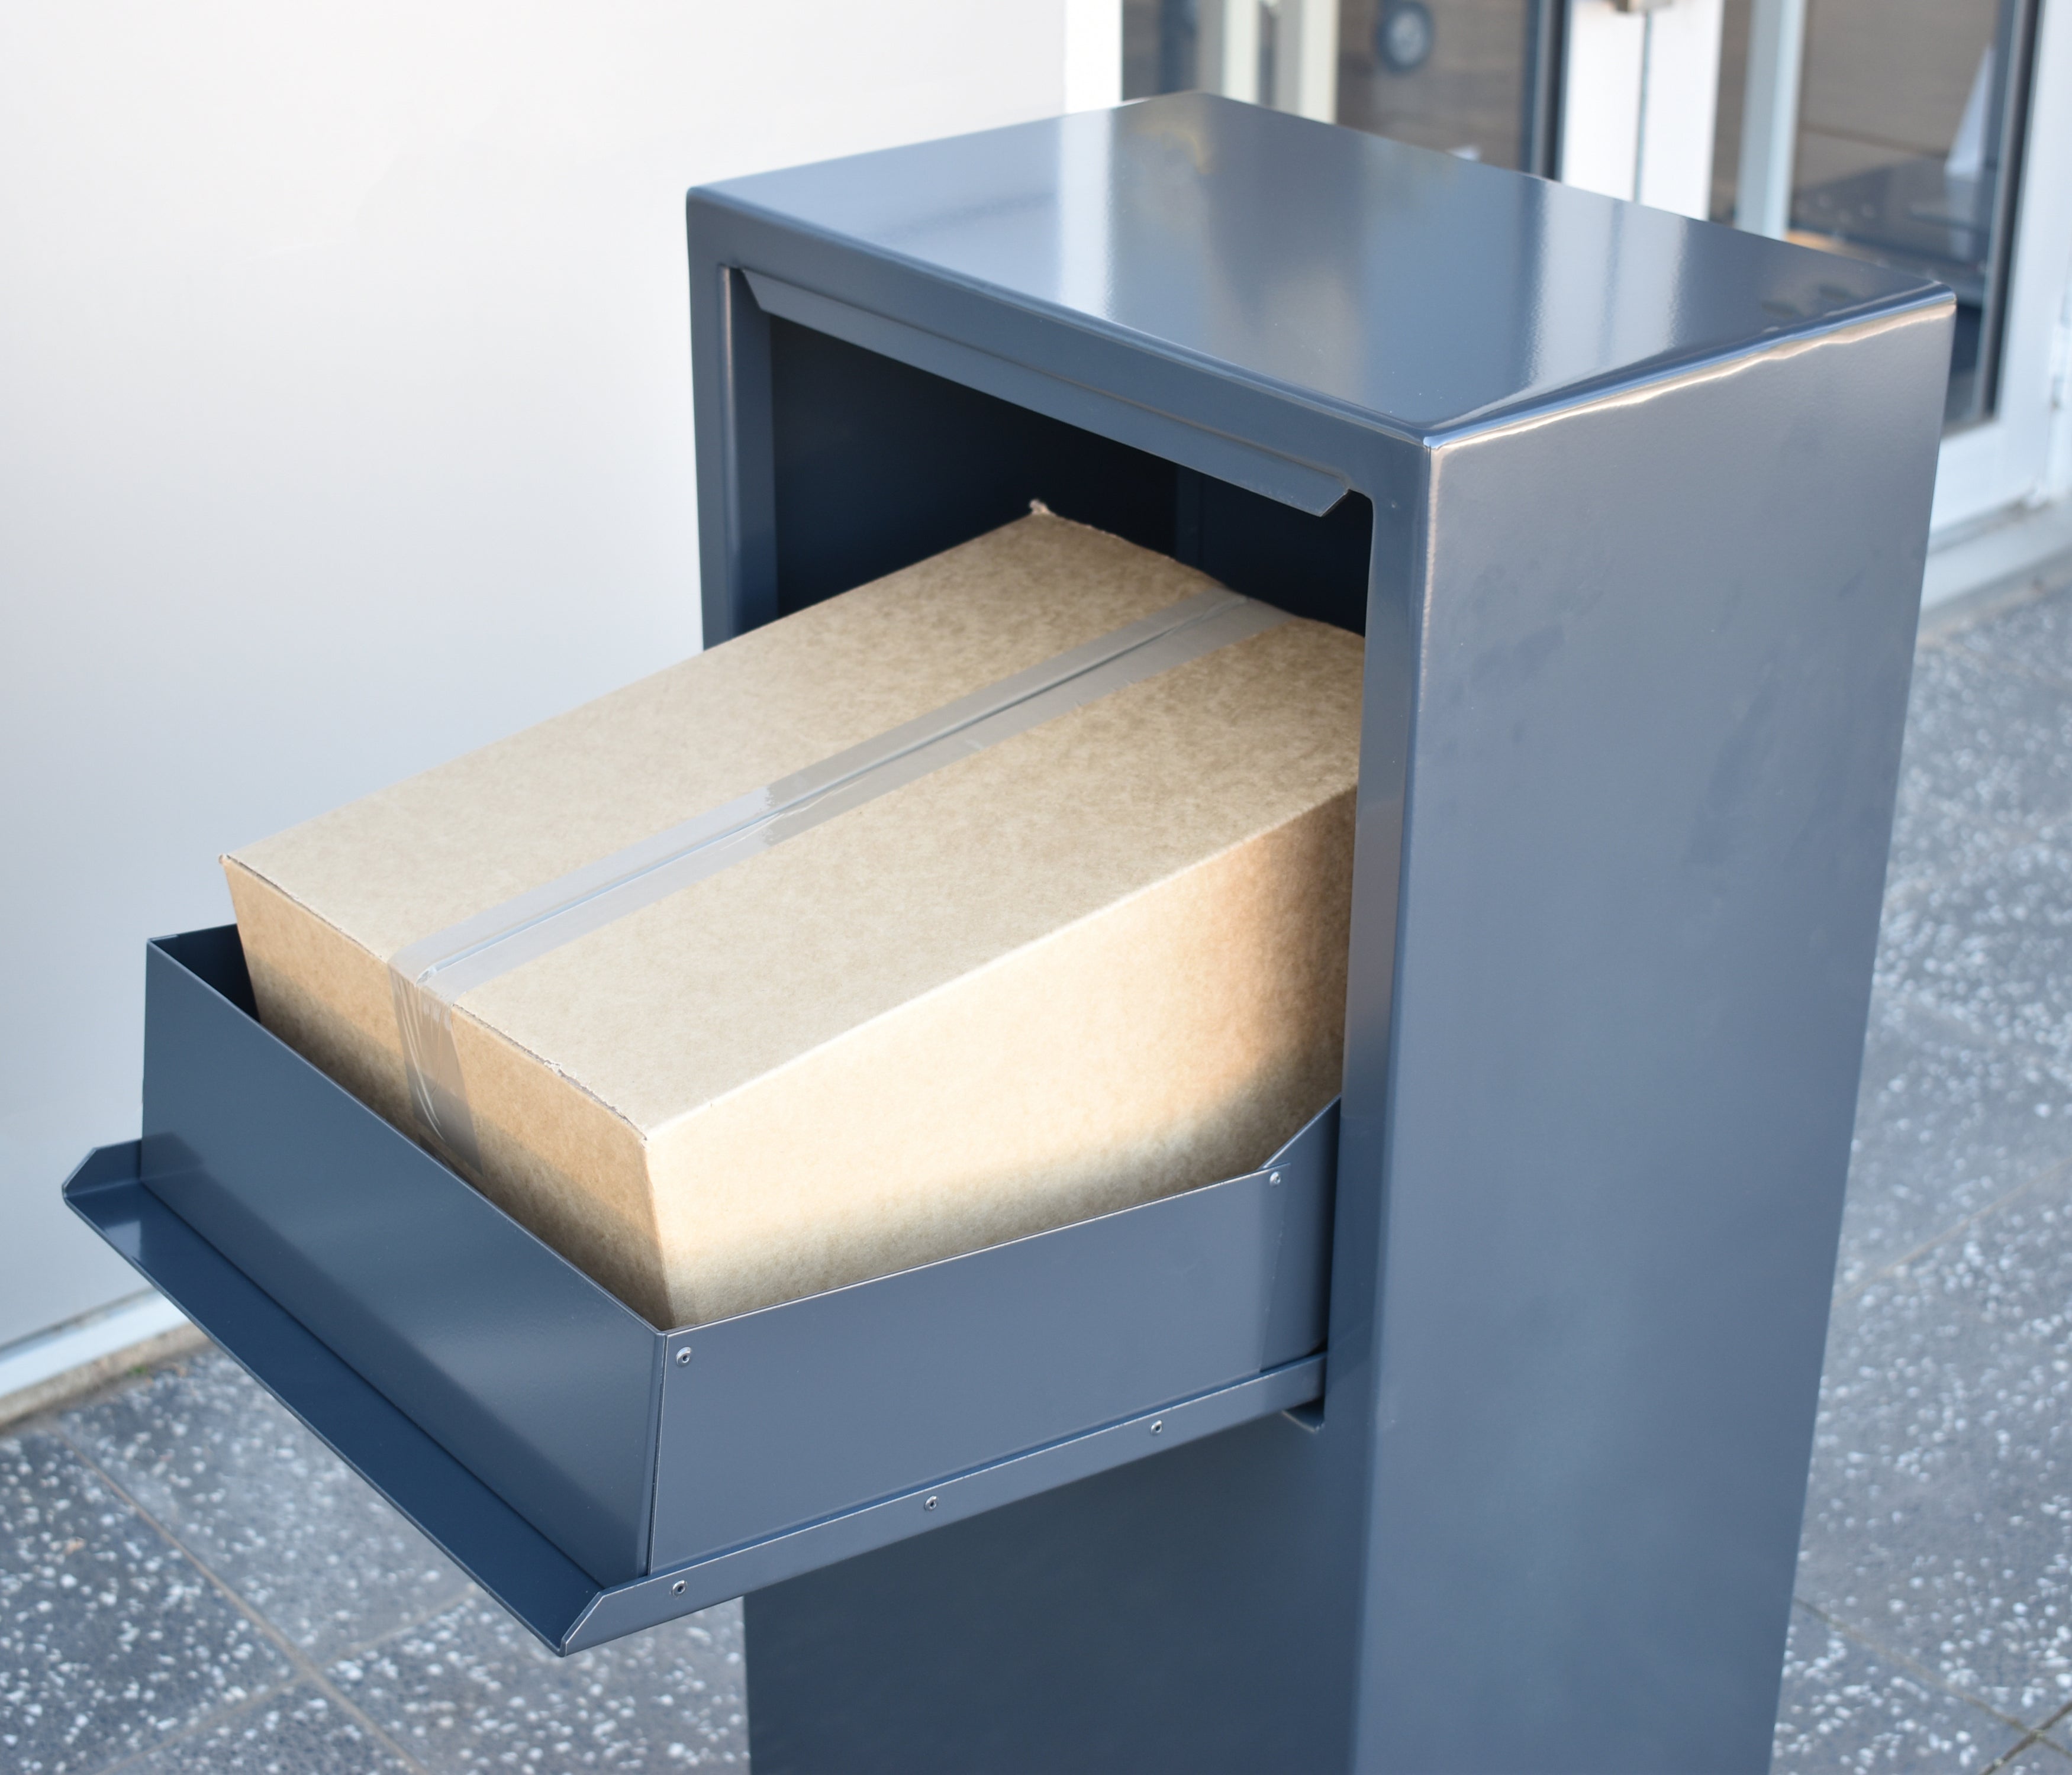
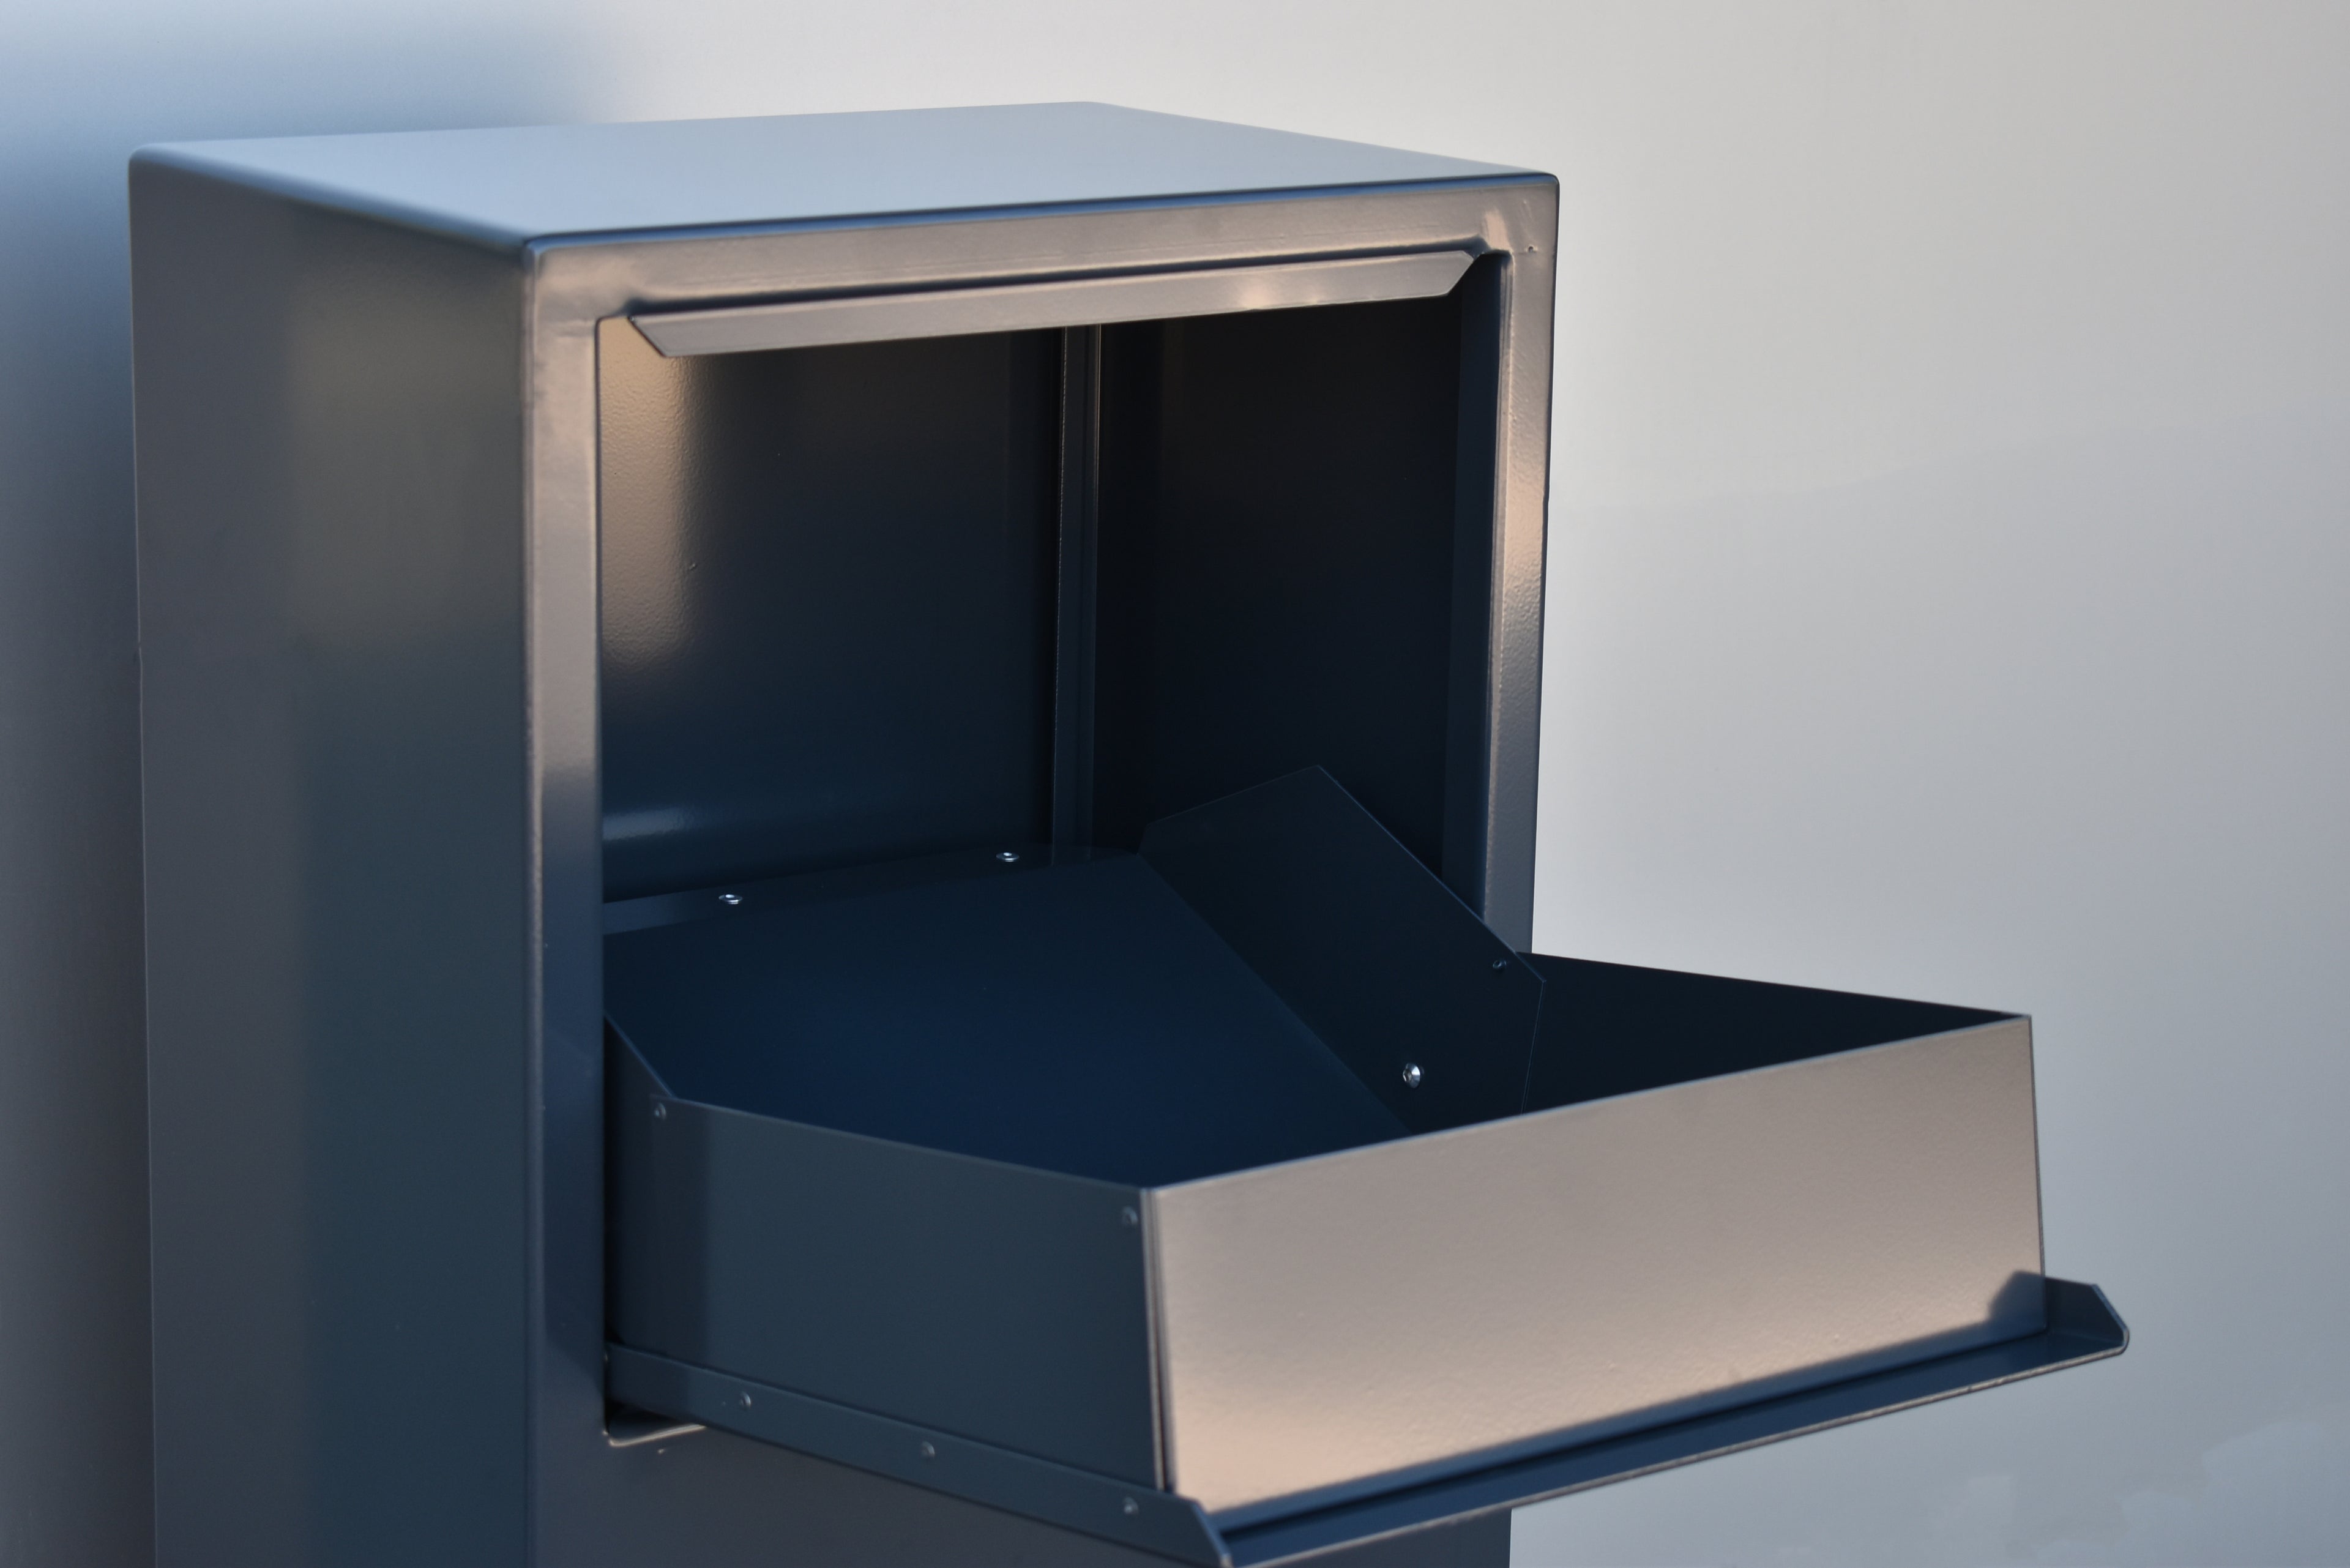
- Secure front opening chute for parcels, rear opening door for collection
- Can be installed onto concrete or into the ground
- Strong and sturdy build
- Combination lock as standard
- 50-litre storage capacity
- Numbers and parcel labels included
- 3mm thick powder-coated aluminium powder coated in a range of Colorbond colours
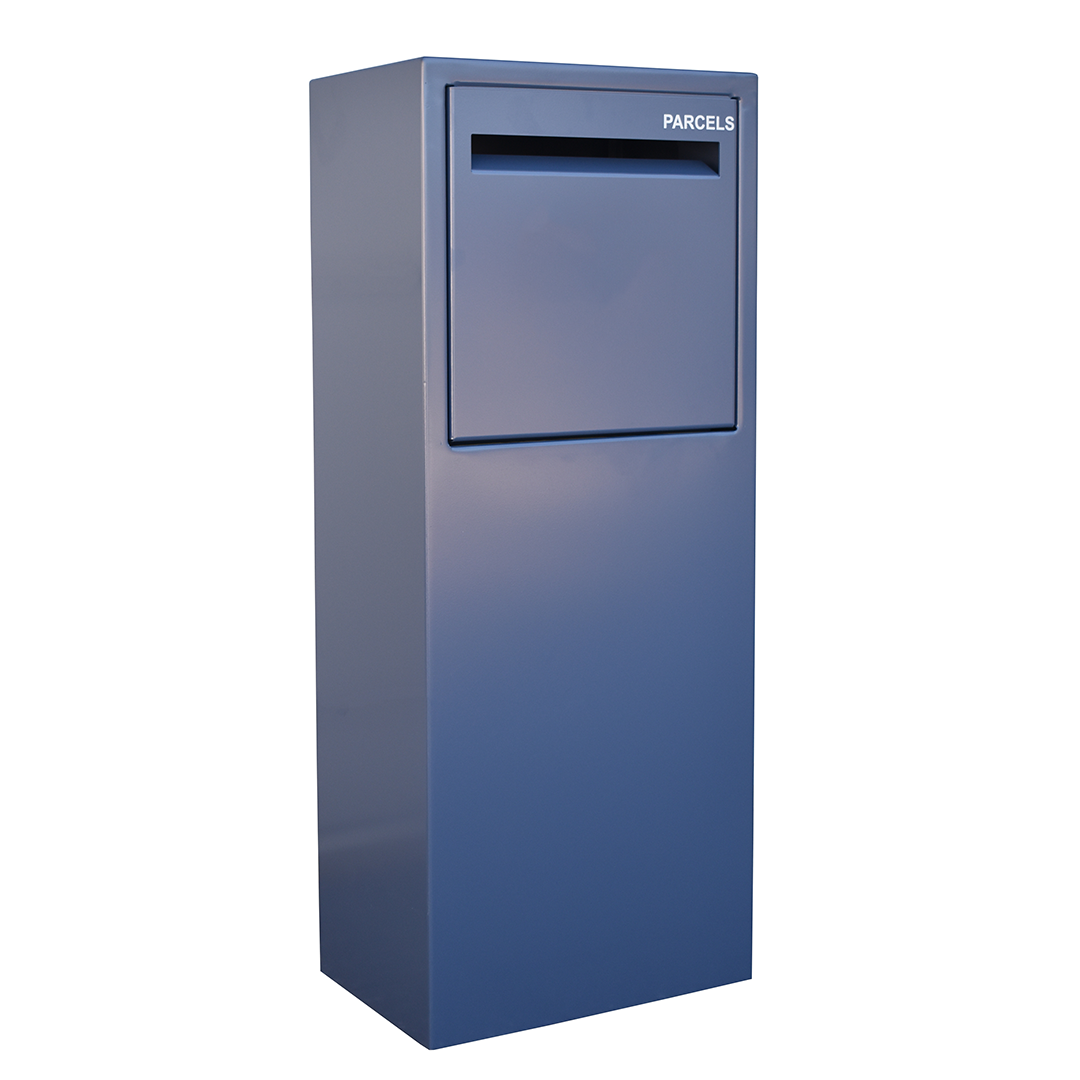
The Parcel Box is the number one option for the avid online shopper!
Securely receive and store packages with the Heatlie Parcel Box. Featuring a chute specially designed to accommodate a standard-sized parcel, this freestanding parcel box is perfect for safely storing letters and packages. Its spacious size makes it able to hold large parcels, ensuring your deliveries are never left out in the rain. Make package delivery hassle-free with the Parcel Box!
Each parcel letterbox features a standard combination lock built into the back door for extra security.
There are two ways to securely receive parcels and packages - through the front hatch, which works like an Australia Post Box, or by providing the courier with the combination code to place the parcel straight into the box via the back door.
All our letterboxes are made to order in North Plympton, South Australia. While we endeavour to manufacture as quickly and efficiently as possible, the standard lead time for a Parcel Box is between 2-4 weeks. Factory conditions change year-round, however, so no lead times can ever be guaranteed.
Colours seen in the colour selection drop-down thumbnails and in the product images are computer-generated representations of the powder coat colours. They are not 100% accurate to how the real-life colour will appear, they are merely a guide. Several variables such as lighting and the surrounding environment will have a big impact on how your chosen colour will appear in the flesh.
Dimensions & Specifications
| Dimensions: Total Unit | 450w x 1100h x 300d (mm) |
| Dimensions: Front Door | 390w x 385h (mm) |
| Dimensions: Rear Door | 400w x 600h (mm) |
| Dimensions: Slot | 331w x 40h (mm) |
| Material | Aluminium |
| Finish | Powder Coated |
| Colours | Basalt®, Black Satin, Bright Silver, Classic Cream™, Cottage Green®, Cove®, Deep Ocean®, Dune®, Evening Haze®, Gully®, Ironstone®, Jasper®, Mangrove®, Manor Red®, Monument®, Pale Eucalypt®, Paperbark®, Shale Grey™, Surfmist®, Terrain®, Wallaby®, White Satin, Wilderness®, Windspray®, Woodland Grey® |
| Locking Mechanism | 3-digit Combination Lock |
| Access | Rear Door |
| Max. Parcel Size: Front Hatch | 390w x 290h x 140d (mm) |
| Max. Parcel Size: Rear Door | 375w x 380h x 275d (mm) |
| Storage Capacity | 50 Litres |
| Installation Type | Bolt to concrete, Cement into ground |
| Numbering |
Bolt-On (Powdercoated Aluminium), Stainless Steel (304, Horizontal Brush), Vinyl |
Numbering
With vinyl numbers, you can include your street name underneath the number as well. Include everything you want to be written on there in the text box.
The top right "PARCELS" label will be matched to your vinyl or bolt-on number colour and font and will be 15mm high.
If you choose to have stainless numbers the "PARCELS" label will be vinyl silver.
If you choose no numbers at all, we will not supply a "PARCELS" label.
Font Options
Bolt-On - Times New Roman
Stainless Steel - Arial
Vinyl - Arial, Century Gothic or Times New Roman
Stainless Steel Number Examples
Installation & Assembly
Parcel Boxes can be installed onto a concrete slab or into the ground. Installation brackets are included with every Parcel Box as per your selection in the "Installation" section.
Onto Cement
If you need your parcel box to be installed onto an existing concrete slab, the Parcel Box will be supplied with the bracket installed in the base of the unit. Undo the four screws in the base to detach the bracket. Then simply bolt the two outer extensions of the bracket into the concrete with DynaBolts. Then reattach the middle section of the bracket to the bottom of the box through the nut serts.
Into Ground
For ground installations, the Parcel Box will be supplied with the installation bracket separately. You will need to dig four holes to match the depth and width of the four prongs that you see on your installation bracket. Attach the bracket to the bottom of the Parcel Box through the nut serts. Fill the holes with concrete and slowly place the four prongs in the four holes. Ensure it's level and stable.
Please see our Parcel Box Installation Guide for a little more detail or contact us if you're unsure.
Combination Lock Installation:
If you choose to have your Parcel Box shipped via freight, we will send it without the combination lock installed. This is because it is safer to ship this way, reducing the chance of damage to the lock during shipping. To install the lock follow these simple steps below.
- Loosen (but do not completely remove) the screw on the back of the barrel with a screwdriver.
- This allows you to undo and remove the nut from the barrel.
- Slip the lock into the hole in the door, making sure the numbers are in the correct position.
- Replace the nut and tighten up against the door to lock the barrel in place.
- Tighten the screw to lock the tongue in position.
Resetting Combination Lock:
- Please read all instructions thoroughly before resetting the combination.
- Your 3 Dial Cam Lock is factory preset to “0-0-0”.
- Push the reset pin, which is located on the right-hand side of the cam lock, by using a sharp item to push in and hold until step 4 is completed.
- Select the new desired combination on the dials.
- Please record the new combination for future reference.