Suitable for...
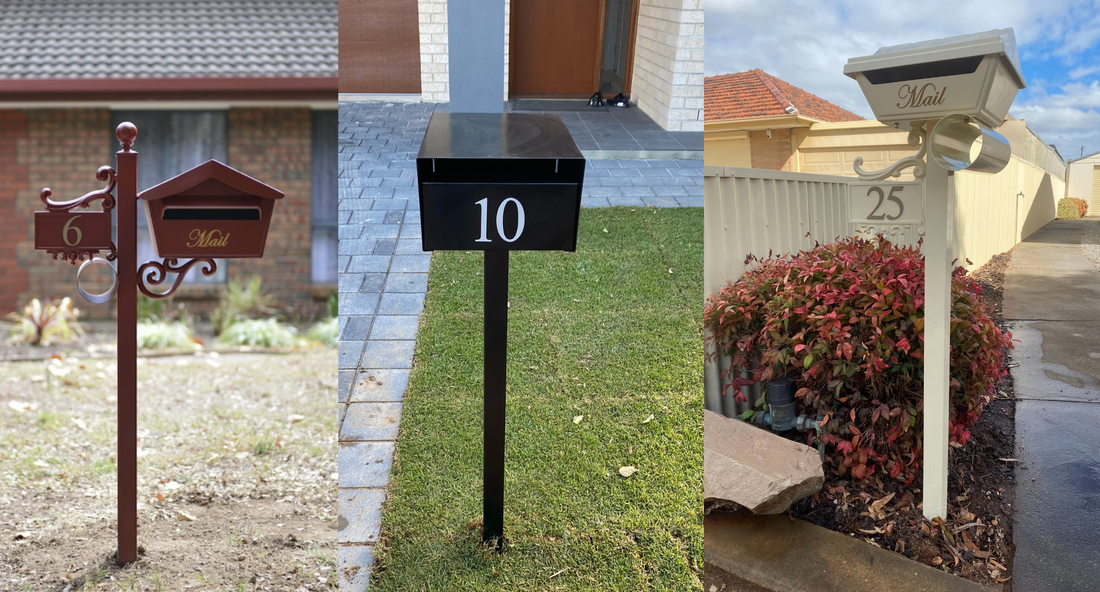
Freestanding post mounted letterboxes are a fantastic option for wide open yards without a fence or wall.
Installation is fairly easy and can be done by even the least handy person. You'll just need to set aside a bit of time and gather some materials.
Our freestanding letterboxes come with posts that are ready to be inserted into the ground.
Equipment
- Quick set concrete
- Spirit level
- Shovel
- Bucket
- Start by assembling your letterbox if needed. Most of our freestanding letterboxes require the head to be screwed onto the posts through 4 simple nuts and bolts on the base of the head through the top plate of the post.
- Find an appropriate position for your letterbox. It should ideally be at the base of your driveway as close to the footpath as possible, on level ground.
- Dig a hole at least twice the diameter of the post and one third the height of your post. Our top mounted posts are 50x50mm and 1300mm high while our side mounted posts are 1600mm high. Assure the base of the hole is level and clear of obstructions like rocks. Your mail slot needs to be between 900 and 1200mm from ground level as per Australia Post's regulations.
- Mix your quick set concrete and fill the hole about half way.
- Insert the post into the centre of the hole. Check that it is straight with a spirit level. You may need to use clamps or wooden planks to brace and hold it in position.
- Fill in the rest of the hole with dirt for a nice flat finish to the base of the post.
- Consult your quick set concrete bag's instructions for advice on how long to leave concrete to cure. Generally it will be a couple of hours.
Done.